Create a virtual network with subnets
Your Azure subscription includes a virtual network (Azure VNet). Before you create any VMs, divide your VNet into subnets as needed. If you plan to use an Azure Application Gateway, you must divide the VNet into one subnet for the VMs and a separate subnet for the gateway.
Procedure
-
Open the Azure management portal at https://portal.azure.com.
-
Go to Home > Virtual Networks.
-
Select Add.
-
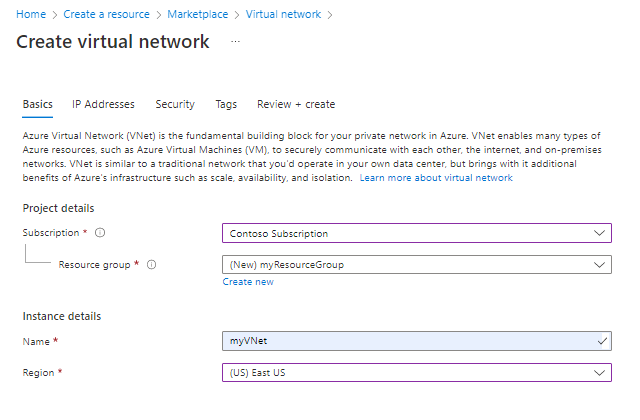
On the Basics tab, enter the required information.
-
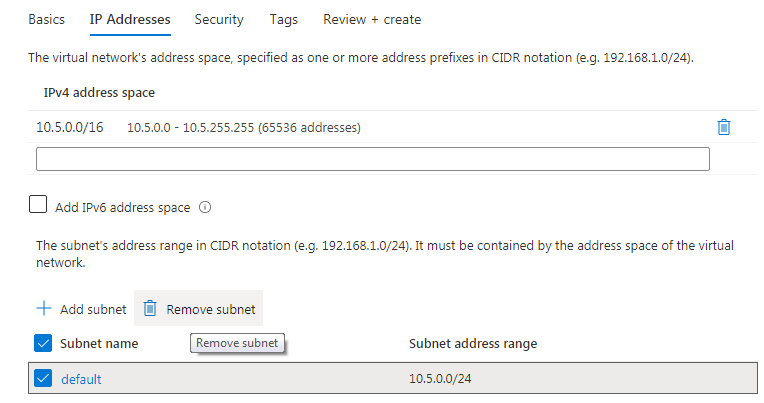
Select the IP Addresses tab, from the list, select the default subnet.
When you create a virtual network, a default subnet is automatically created that includes all IP addresses in your virtual network. To create your own subnet configuration, you must delete the default subnet.
-
Select Remove subnet.
-
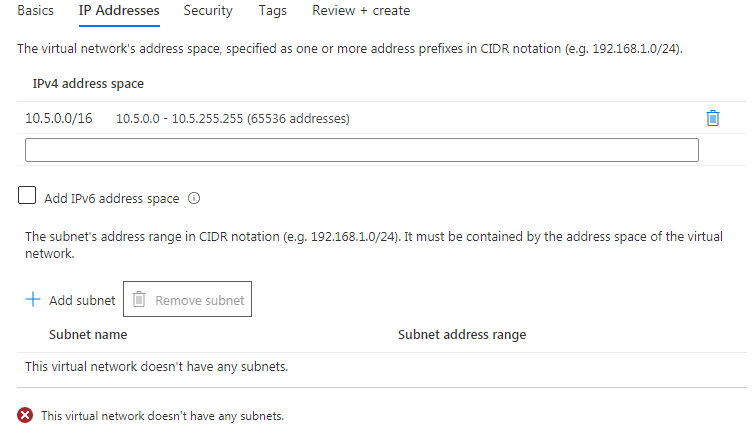
Add new subnets according to your needs.
You need at least one subnet for the recording VMs.
If used, you also need one subnet for the Azure application gateway.
What to do next
Workflow: Configure Microsoft Azure components for Teams capture
Quickstart: Create a virtual network using the Azure portal (Microsoft technical docs)