Relocate the call buffer
You can use the following procedure to change the hard disk location for recorded contacts specified during installation, porting existing files to the call buffer.
To change the call buffer location
Change the call buffer location to move all files in the old call buffer into a new location.
-
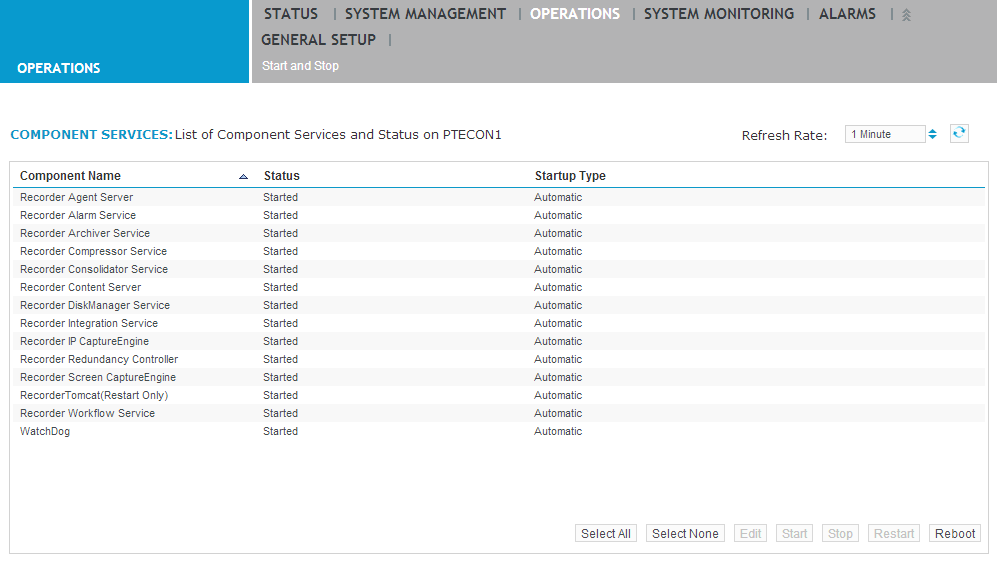
Click Operations > Start and Stop. Select all Recorder components except the Web Service (if present) and click Stop.
-
Launch Windows Explorer and create a new call buffer directory on the local machine.
-
In Windows Explorer, move all files and subfolders from the old call buffer folder to the new call buffer folder.
-
Click General Setup > Recorder Settings and change the Call Path Buffer to point to the one created in Step 2.
-
Click Save.
-
Click Operations > Start and Stop, select all stopped components, and click Start.