Create tenant entities for existing tenants
As a result of a migration to tenant entities, after Data Center migration, create tenant entities for all existing tenants in the system.
Before you begin
-
Obtain the External Tenant ID for the tenant.
Procedure
-
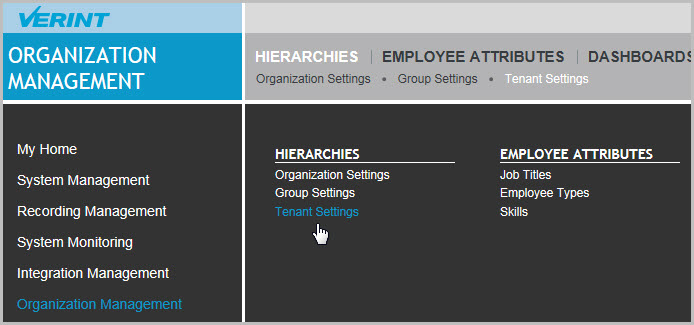
Go to Organization Management. Under Hierarchies, select Tenant Settings.
-
From Tenant Settings, click Create in the lower right corner.

-
In the Tenant Details section, enter the tenant name, description, external tenant ID, and select the tenant organization and tenant root groups created previously. The description and tenant root groups are optional.
-
In the Tenant Admin User Details section, leave the details empty.
-
Click Create.
A confirmation message appears, indicating that the tenant entity was successfully created. The new tenant details now appear under Tenant Settings, and the new Tenant Administrator user appears under User Management.

-
To change tenant entity details after the tenant is created, under Tenant Settings select the tenant and click Edit.
To change the Tenant Administrator user's details, under User Management select Usernames.