Create new tenant entity
To further isolate and protect tenant data, create a new tenant entity. The tenant entity ensures that the tenant's data is segregated and secure. In this way, tenant data is managed in an isolated, independent way. The tenant entity is not a new hierarchy. Rather, it is a way to select assets in the system. There are no parent or child tenants.
If you are provisioning a new tenant with a license, when you create a tenant entity, you can choose to create the tenant's First User (Tenant Administrator). The Tenant Administrator user is scoped to the tenant root organization/groups and its children, and is automatically assigned the default Tenant Administrator role.
For information about the Tenant Administrator user and the default Tenant Administrator role assignment, see System-wide SaaS considerations, page 1.
If an organization is not associated with a tenant, it is assumed to belong to the Service Provider.
Before you begin
-
Obtain the External Tenant ID for the tenant.
Procedure
-
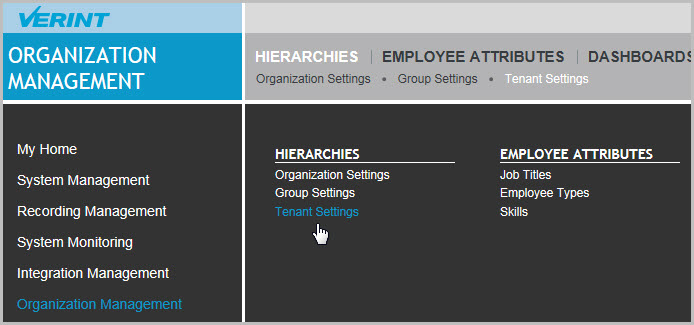
Go to Organization Management. Under Hierarchies, select Tenant Settings.
-
From Tenant Settings, click Create in the lower right corner.

-
In the Tenant Details section, enter the tenant name, description, external tenant ID, and select the tenant organization and tenant root groups created previously. The description and tenant root groups are optional.
-
In the Tenant Admin User Details section, create the Tenant Administrator user: Enter the first name, last name, and user name of the tenant employee who will be the Tenant Administrator.
After the tenant entity is created, the Tenant Admin user is automatically assigned the default Tenant Administrator role.
-
To send an email containing the tenant user name and password to the Tenant Administrator, select Send the tenant admin a notification email, and enter the email address of the Tenant Administrator.
-
Click Create.
A confirmation message appears, indicating that the tenant entity was successfully created. The new tenant details now appear under Tenant Settings, and the new Tenant Administrator user appears under User Management.

-
To change tenant entity details after the tenant is created, under Tenant Settings select the tenant and click Edit.
To change the Tenant Administrator user's details, under User Management select Usernames.